DIY Circulation Chamber
In my recent 3D printing exploits I have realized that I need a clean way to circulate fluids around and through samples. My need is to pass D-limonene over HIPS prints to dissolve in-fill and support structures. I then realized others may have similar needs for circulation.
So I found a way to build a simple circulation system with a few relatively cheap components. It was also a pretty quick build once I had all the parts.
Part list:
- Peristaltic pump – 12.49 on Amazon
- Airline Tubing – 4.22 /25ft on Amazon
- Coffee Can – recycle
- Small Screws (x2) – nearly any size works, just drill pilot holes appropriately
- Nut (1x) – needs to fit a screw above
- Small-Gauge Wire – I used wire from this set on my work bench
- Electrical tape
- 12V power supply – either recycle a small electronic adapter or 8.95 on Adafruit
- Female DC Power adapter jack to screw terminal – 2.00 on Adafruit if you purchase part above
- Plastic Mounting Bracket – either 3D print this piece or cut one from a piece of plastic recycling
- Twisty Tie – recycle
- Brass Cup Hook – 3.94/100pk at Home Depot
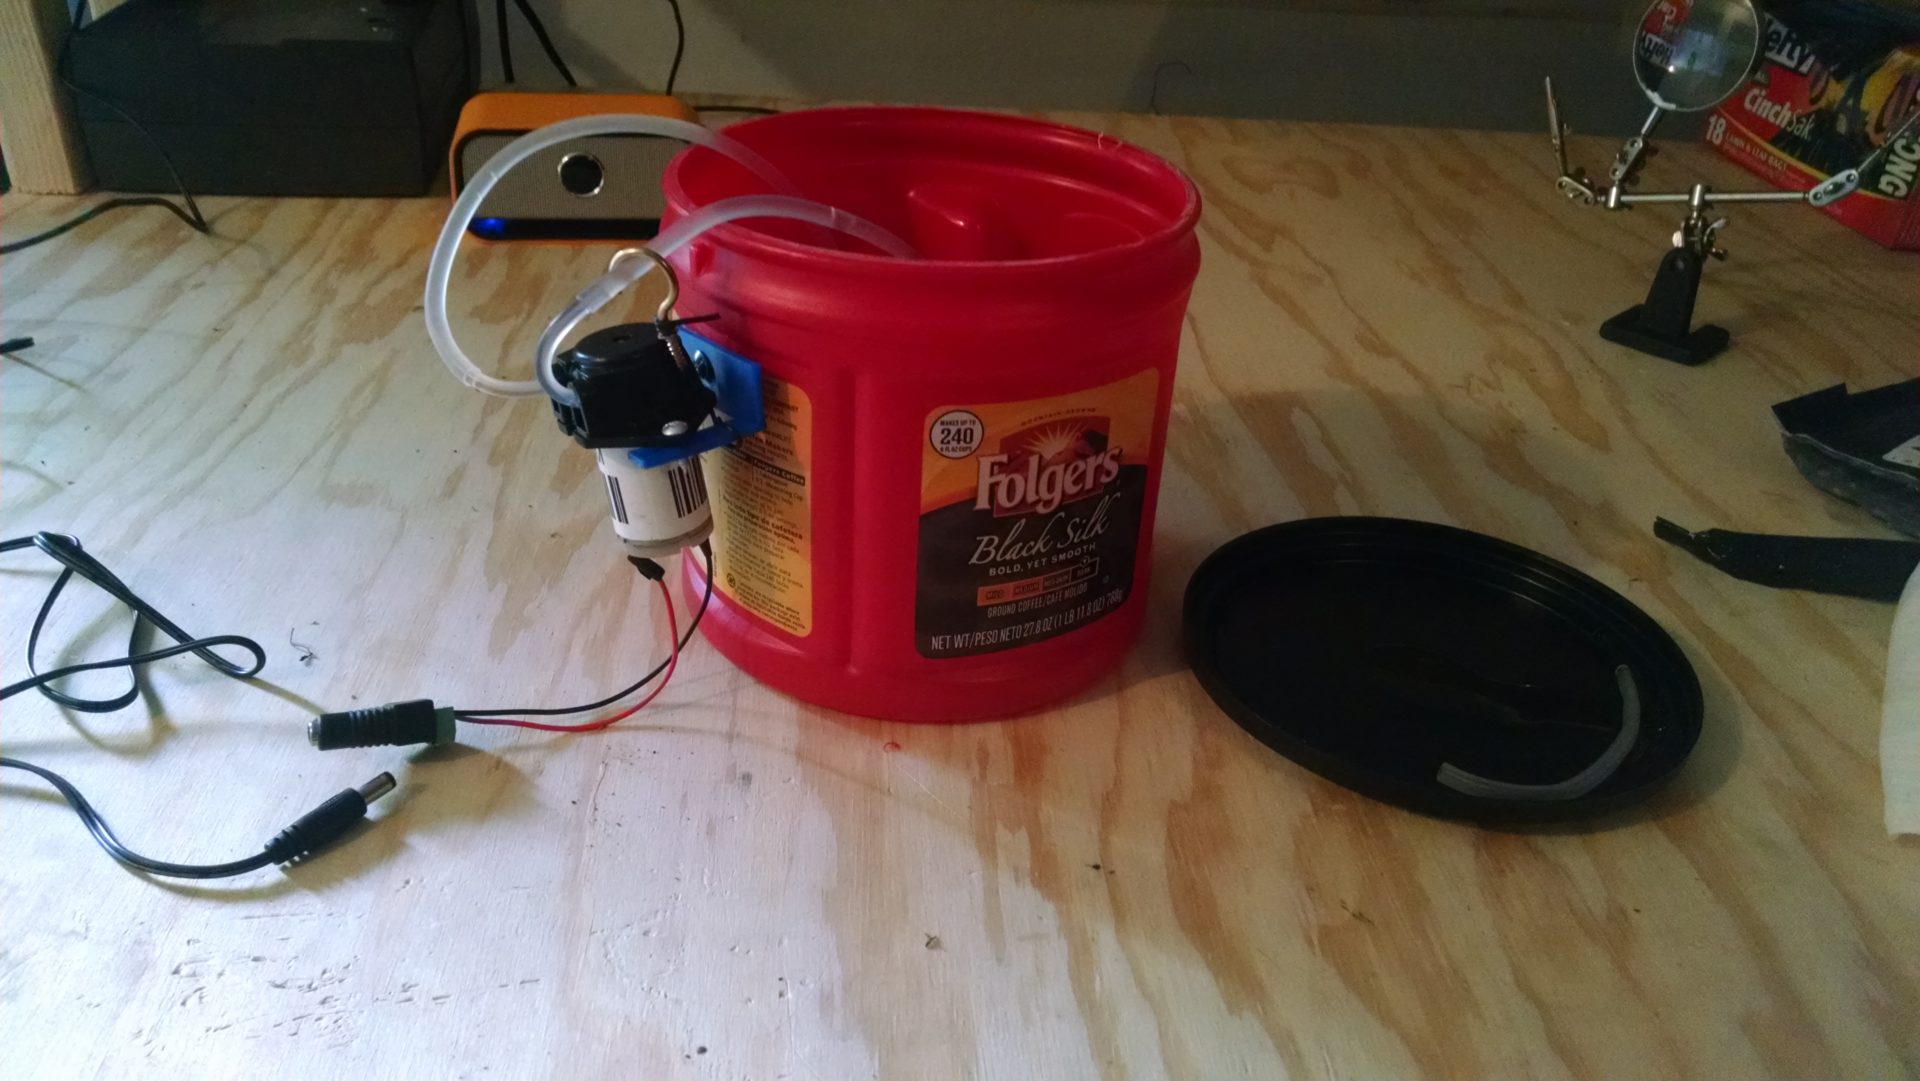
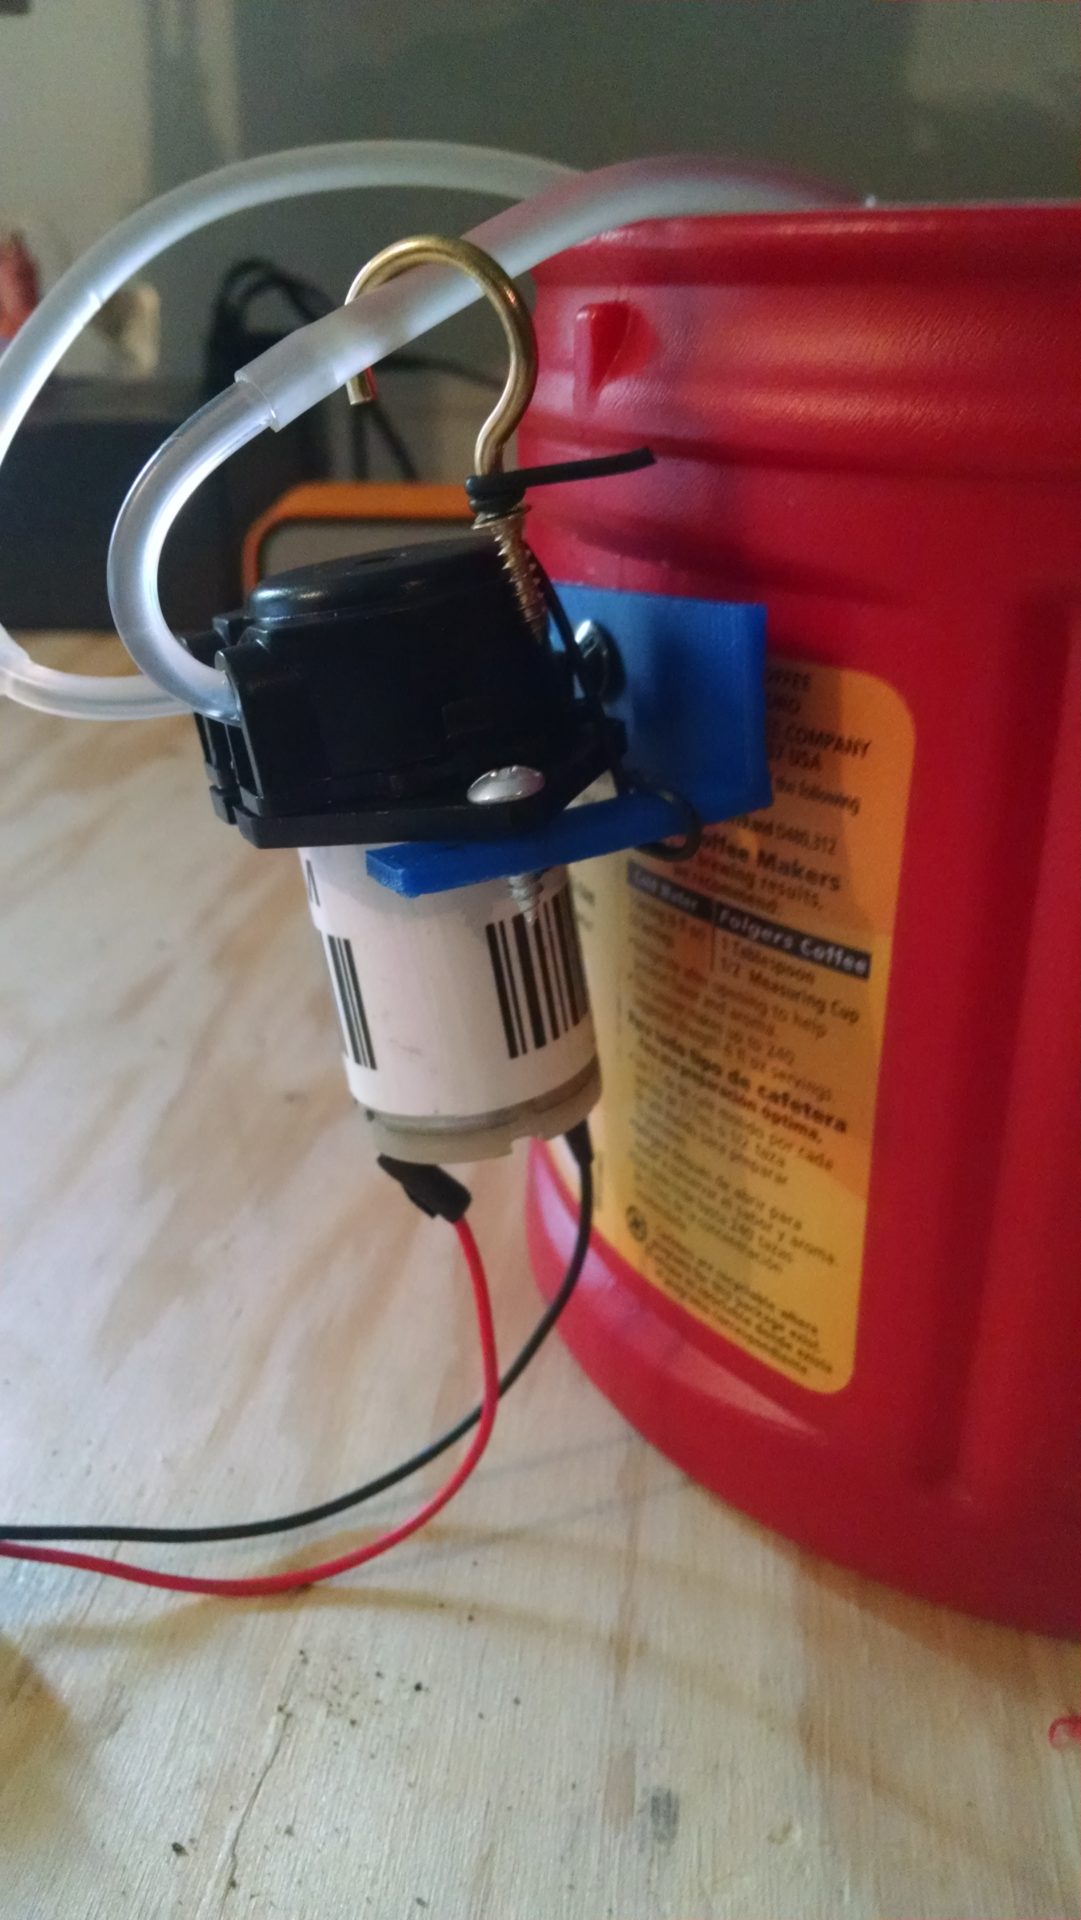
I hope most of the build is apparent from the pictures above. I would mention that I use the output line to dump the liquid on top of my part, so the hook holds the short line in place. Use the nut to secure the pump to the coffee can so it doesn’t rattle itself loose over time. I like using the lid as a drying platform to minimize my mess. I’m also using the top half of a pop bottle to hold my printed part up out of the the reservoir and still within the flow.
So that’s what I did today. What kind of summer projects are occupying everyone else?


 Next Post