Teaching Quantitative Skills in a Lab Context: Getting Started in the Classroom
Some background on my teaching approach (which you may not agree with):
A few years ago a young math teacher, Dan Meyers had several videos that went viral about math instruction. Be sure to google his work but also check out the critique of his work. Part of the his message was that we (curricula, teachers, books, etc.) are “too helpful” when we structure our lessons and instruction. By that he meant that instead of giving students practice with formulating problems and working through unique solutions we have reduced math instruction to a series of “paint by number” steps to be memorized. Meyers was not the first to make these claims and not the last. For example another noted math educator, Phil Daro has a series of videos where the main idea is “against answer getting”. In these videos he compares Japanese math instruction to U.S. instruction and notes that in Japan math instructors ask the question: “How can I use this problem to teach this math concept?” vs in the U.S:. “How can I get my students to get the right answer to this problem?” It’s not that the answers aren’t important but if correct answers are the main emphasis of instruction then becomes too easy for the entire system education to devolve into trivial answer getting. The hard work of critical thinking, working through problems, getting comfortable with false starts, revision, metacognition and learning from mistakes–all qualities that education aspires to gets lost in the extreme focus on the end product. Moreover, the answer getting approach contributes to students developing a fixed mindset about their own abilities that are very likely false. Carol Dweck and Jo Boaler’s work in this area provides a number of ideas and approaches to help teachers avoid fixed mindsets and help move students along a learning progression that leads to effective problem solvers. Part of Boaler’s work at successfully moving students from fixed to growth mindsets in math involves rich problems that have an easy, accessible entry point that opens a door to a very rich, open and challenging environment with many paths to explore. The floating disk catalase assay fits this description to a “T” in my mind.
BTW, even though I have participated in a number of curriculum development projects, standards writing and curriculum framework development, I personally seldom pay much explicit attention to standards, science practices frameworks, or objectives when I do my “planning”. Nor do I ever develop formal learning objectives when I “prepare” lessons. Like rubrics I tend to look at objectives and frameworks as too confining. More importantly, I don’t think I have every taught “a lesson” that didn’t take the students beyond the typical standard or learning objective. Since I kind of live and breath biology education, I don’t want to be boxed in, I want to explore what is possible. I have a general idea of where we are trying to go in class but I don’t make it explicit. I don’t want my students to think they have arrived at their destination (learning goal), rather I want them to value the journey and keep on keeping on the path. I’m not advocating you do the same, I’m only explaining why you won’t see any specific references here to specific learning goals or science practices. What follows is a weird blend of what I have done in the classroom and how I would approach this material, today. I’ve been out of the high school classroom for more than 10 years and I’ve got to say that all these new resources certainly make me wish I was back in the high school classroom.
With that bit of background as justification you’ll see that in the posts that follow I will be promoting being less helpful and trusting my students to be able to come up with reasonable problems and solutions to those problems. To do this well, requires skill on the part of the teacher to guide student thinking through questions–Socratic questions. Planning for the instruction requires explicitly thinking about the instructional goals and the types of questions and scenarios that can get us to those goals. Like the student quantitative skills we are targeting our own skill in questioning will get better and better as we practice it and reflect on it. By the way since we are talking about skills it is important to remember that skills are improved through practice and therefore our instruction should offer the chance to practice and revisit skills.
Getting Started:
I typically use labs to introduce material so that students have some level of experience with physical phenomena that can serve as a foundation for building conceptual knowledge. But I’ve got to get their attention and hopefully spark their interest. I’ve explored many different enzyme systems in the classroom. For instance, in the “old days” my students did all kinds of things with salivary amylase and starch. This system had the pedagogical hook of being known as the “spit lab”. They loved to hate spitting into test tubes to collect their amylase. High interest. For catalase I call on their experience with Hydrogen peroxide since most of my students have a bottle back at home and most are familiar with it.
Before going any further, I remind them that they will need to start recording any observations, questions (real important) and thoughts in their lab notebook. In the interest of being “less helpful” for more than 25 years I did not provide my students with lab write-ups or worksheets. They had to organize their own investigations based on demo’s and discussions in class. I made sure to make their lab notebook indispensable to their individual success in the class by making later assignments that required the information they should have entered into their lab notebooks–usually in the form of laboratory practicals as substitutes for final exams.
I bring out a bottle of Hydrogen peroxide and begin a discussion.
My part of the discussion involves questions and follow-up questions with these targets in mind: 1. to stimulate interest. 2. to recall why they use H2O2. 3. to realize that H2O2 breaks down on its own (by asking questions about old, “use-up” bottles in the medicine cabinet and why is the bottle brown?), 4. that bubbles are a sign that the H2O2 is working (killing “germs”). (the connection to the bubbles needs to be corrected in a bit)
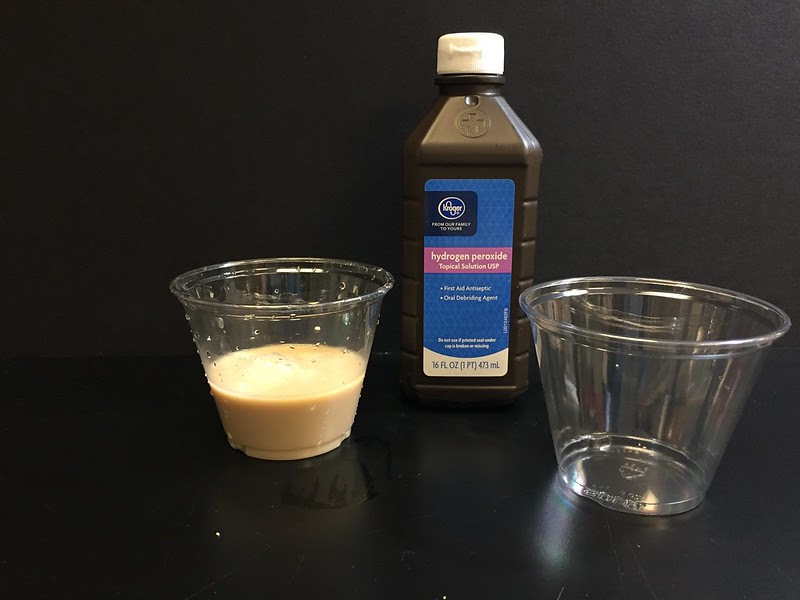
It is at this point I bring out a plastic cup about half full of a yeast solution. (I almost always use plastic in my labs to minimize when we need goggles) I mix up a package of bakers yeast in about 250 ml of water before class so that it well suspended. I pour out about 1/2 cup of H2O2 and say “Let’s see if we can get some bubbles”

At this point I have them. Because there are lots of bubbles….
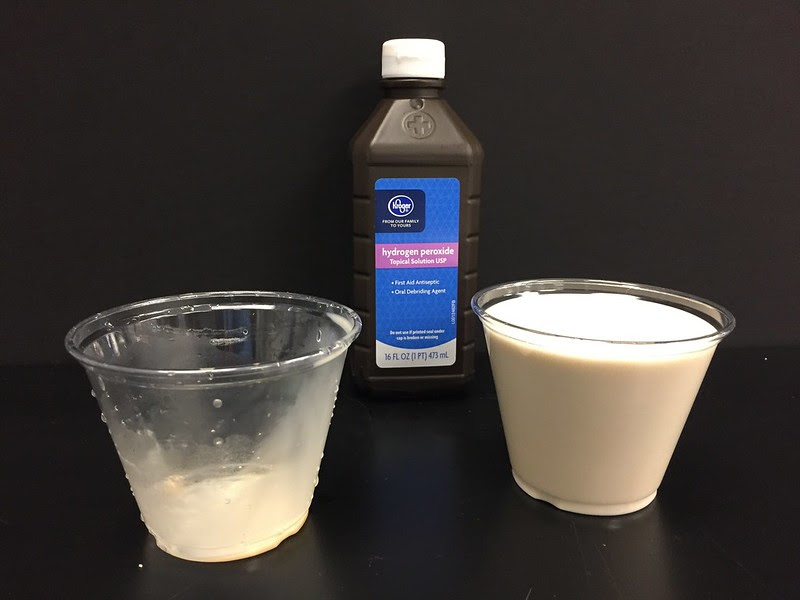
Way more than they expect.
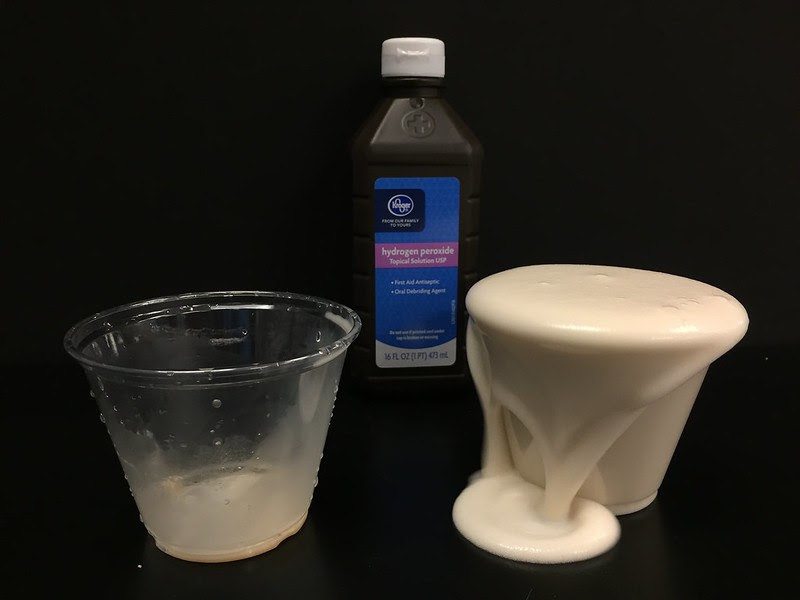
When it starts to overflow, that is when I pull out my best Chevy Chase imitation and start bumbling around trying to keep the mess at bay but it is too late.
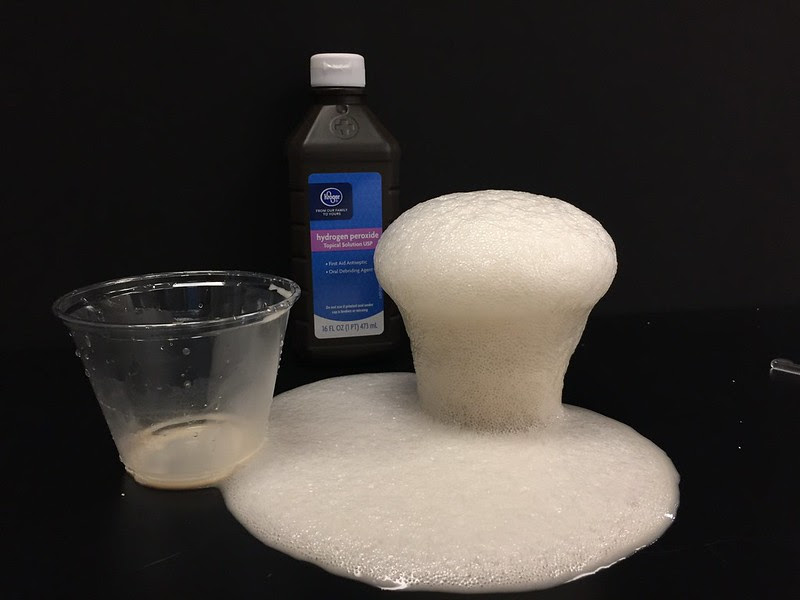
They are hooked now, at least long enough to provide a quick bit of background information. At this point we describe the decomposition reaction and quickly balance the equation. And then, using questions again, start to probe what might be going on. The target this time is that the idea that the reaction has been greatly speeded up. Speed implies rate. This is important. This is quantitative thinking. You have been doing similar discussions with your students but you may have not pointed out the quantitative aspect of this observation in the past, assuming that your students would readily see the quantitative aspects of this event. I know that is exactly what I used to do but if we want to focus more on quantitative skills we have to bring them up to the top and not leave them below the surface, hoping the students will automatically figure it out. Knowing what I do today, I wish I had made this emphasis more in the past. Turns out, that one of the big quantitative errors that the public makes is mixing up quantities and rates.
At this point I also introduce the idea of a catalyst as something that increases the rate of a reaction—without being part of the reaction. The definition is not exactly, spot-on but it is good enough to begin developing a conceptual model–which, again takes us into more quantitative thinking.
Modeling to develop a foundation:
When I was in the classroom this is where I’d start drawing representations of catalase and H2O2 on the whiteboard.and implying motion with lots of hand motion, all the while asking questions about the process. Of course the purpose of this was to provide the start of a mental model for what was going on at the molecular level to help the students inform their experimental design. Today I’d do things differently. I’d use the computer based Molecular Workbench models that are available at Concord.org. We would have already visited this site, previously so I wouldn’t need a do do much in the way of introducing the site itself. This type of site, in my mind, is a game changer that makes the abstract world of molecular interactions more accessible and helps to reduce student mis-understandings creating more rigorous mental models. A very important aspect of these models is the randomness incorporated into the models. One of the most difficult ideas to get one’s head around is the idea of random motion and interactions leading to the order we see in living things. Check out this paper to learn more about this teaching/learning challenge: Garvin-Doxas, Kathy, and Michael W. Klymkowsky. “Understanding randomness and its impact on student learning: lessons learned from building the Biology Concept Inventory (BCI).” CBE-Life Sciences Education 7.2 (2008): 227-233.
These models are 2D agent-based computational models which means each structure in the image is an agent with properties and actions—that interact with the other agents. The actions and interactions are based on kinetic theory and do not include quantum effects. Here is the starting reaction representation.
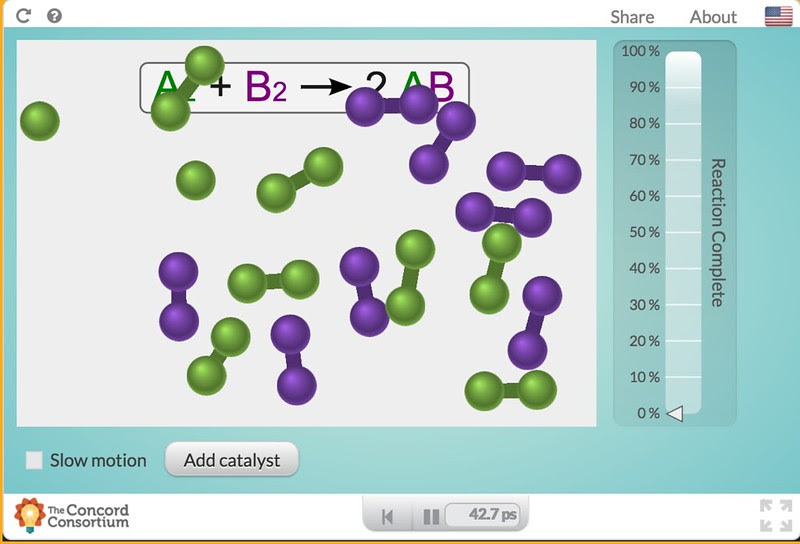
Unlike the catalas/H2O2 decomposition reaction, this model represents a replacement reaction. In this particular screen shot one of the green molecules has split and could be ready to combine with the purple molecule atoms if the purple molecules were split. This may not look like a quantitative model but it is. The reaction without the catalyst does happen but takes a long, long time. Note that at the bottom there is a time measurement, there is a given, starting number of reactants and there is a measurement of reaction completion. All quantitative parameters that students can “take data” on using the pause button and simply counting…..
Here below, two catalyst molecules have been added and in a very short time the reaction moving to completion. Note that while the reaction is near completion the catalysts are unchanged.

Now, at this point I have to make a decision. Do I have the students collect some data to help form their conceptual understanding or do I simply let their impressions of the model with just few trials guide their understanding. Either way, it is important that I use a series of questions to guide the students to my targets: 1. an understanding that the reaction is speeded up and hence rates are something we might want to measure, 2. that the catalyst provides an “alternate pathway”, 3. that there is a limit to how fast the enzyme works, 4. that even when the reaction is “complete” things are still happening, and 5. that if we re-run the reaction, collecting data each time the results are slightly different but predictable.
You can play with the model right here:
Here’s the link to the model of catalysis where you can explore the model yourself or with your students:
But wait there’s more!
When I use any kind of model, now in the classroom, we have a discussion of the strengths and weakness of the model in play. Usually, when I show the model above to teachers I get quite a few aha’s and general statements of approvals. With that in mind what do you think are the strengths of this model? More difficult for students, at least, is to come up with the weaknesses or limitations of the model. Often they focus on trivial problems, like the atoms aren’t actually green and purple and miss others like this is a two-dimensional space. They will no doubt have a difficult time with the idea of scaling time. For the catalase system this model’s size scales are way out of wack. What are some other “issues”?
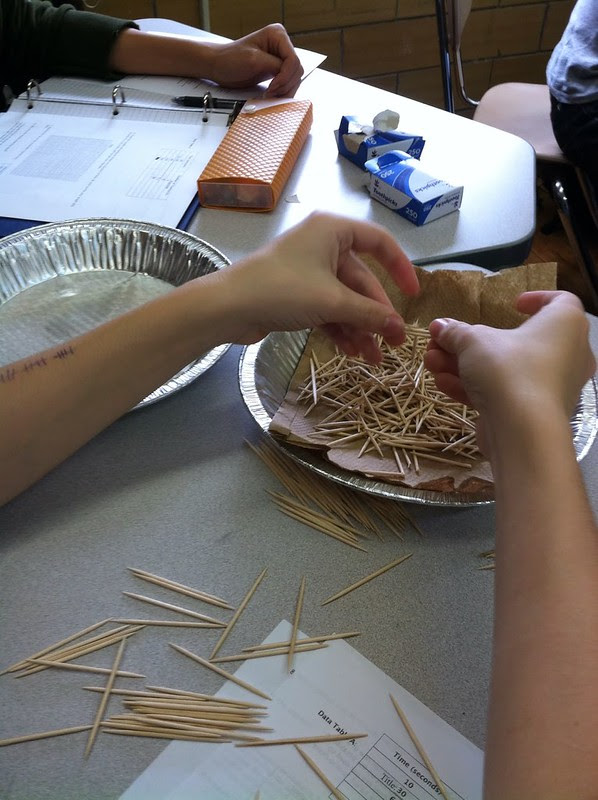
In addition to a computational model a good strategy would be to have the students develop their own physical, model of a catalyst speeding up a reaction. Biology teachers have promoted the toothpickase lab as an enzyme lab over the years.
Googling toothpickase will bring up all sorts of prepared documents and images. This model is a great one to work on and explore. It will definitely help guide questions and experimental design to explore catalase but consider having the students come up with the model themselves with just a little prompting/demonstration from you. Use questions to help them figure out the quantitative parameters, the idea of rates and how to structure and graph the results with the idea of supporting and communicating a scientific argument. Try to avoid the temptation of providing a structured set of lab instructions and tables to fill out for toothpickase–in other words don’t be too helpful. Every time we do that we are taking away a chance for the student to work on one of their quantitative skills. One of the attractions of this model is that the students grasp what is modeled but instead of making it a center point of your lesson consider using it to support your exploration into an actual biological system–the catalase/hydrogen peroxide system. Again, help the students discover weaknesses and strengths of the model.
Experience with a physical model or the computational model should provide enough background that perhaps you can lead your students to develop a different kind of model—a symbolic model like this:

By Thomas Shafee (Own work) [CC BY 4.0 (http://creativecommons.org/licenses/by/4.0)], via Wikimedia Commons
Paula Donham has this same model in her write-up. This particular model is the basis for further analysis later on in this lab. So consider trying to get to a model like this before moving forward.
Remember, I said that I would suggest more quantitative things to emphasize than anyone would want to actually use in the classroom so pick and choose. There’s a couple of other models we could explore which I will explore towards the end of the lab but for now, the students should be ready to start designing how they are going to collect data that will help them understand the catalase/hydrogen peroxide system–which is the next thing I’ll talk about.
