3D Printing Authentic Fossil Samples
I had some biology students developing a guest lesson on fossils, and we got to thinking about how we could put real fossil examples in the hands of students. Here are our standards:


Sure we can find some fossil examples on Thingiverse, but what we can find are somewhat hard to predict, their organization does not have a scientific basis, and their origin is not always clear (not to mention concerns about the company practices of the owners of the platform). I wanted to look elsewhere for better models provided by organizations more aligned with my professional values.
I found GB3D Type Fossils. Here is who they are and what they do (from their own website):
“The GB3D Type Fossils Online project, funded by JISC, aims to develop a single database of the type specimens, held in British collections, of macrofossil species and subspecies found in the UK, including links to photographs (including ‘anaglyph’ stereo pairs) and a selection of 3D digital models.”
You can search at their home page using appropriate scientific names for the samples you want to find. Check it out:

From the search results you can find actual research samples, linked to their papers and researchers. It comes with high-res photos and 3D scans of the sample.

3D scans are still pretty finicky, so you’ll want to groom the model before you go to print it. We’re going to bounce back and forth between a couple programs to get this bryozoan ready to print:
- Meshmixer – Processing software from Autodesk, for fixing model errors and generating supports.
- Free, but not open source.
- Slic3r – Slicing software for converting models to 3D printer instructions.
- Free and open source
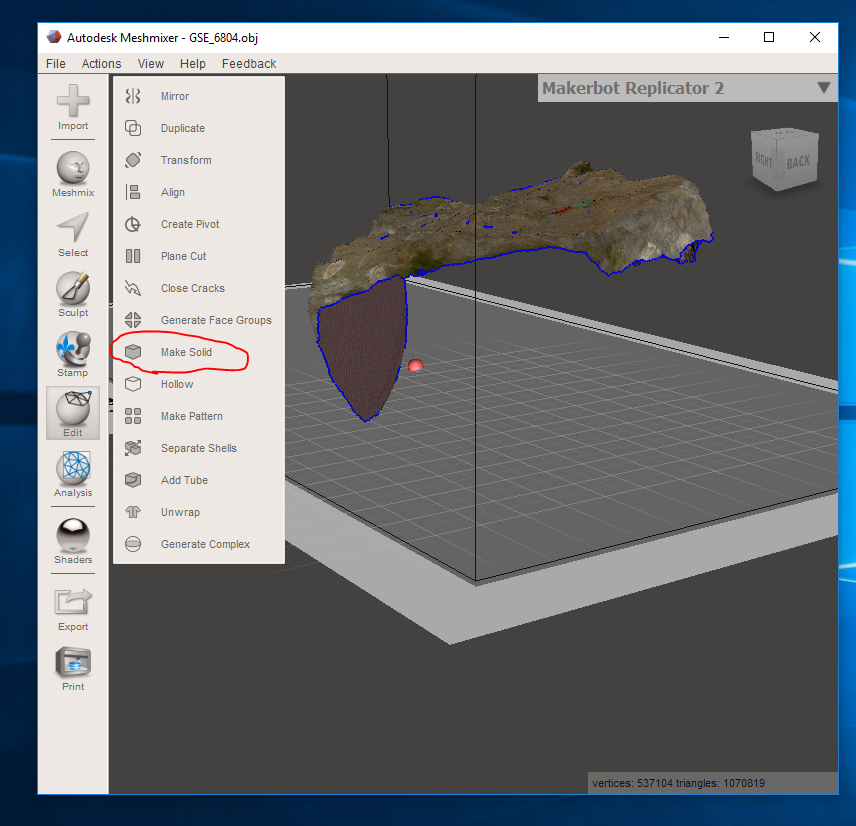
Step 1: Make the scan a “solid” – Meshmixer
This will take the crazy scans you get from researchers and forcibly make it something slicing software can interpret.
- “Import” the .obj that you download from GB3D and extract from the ZIP file.
- “Transform” the model and drag it up and over so it’s positioned in the middle of your build plate.
- “Make Solid” and let the computer fix this nonsense.
- “Export” the model as an .stl
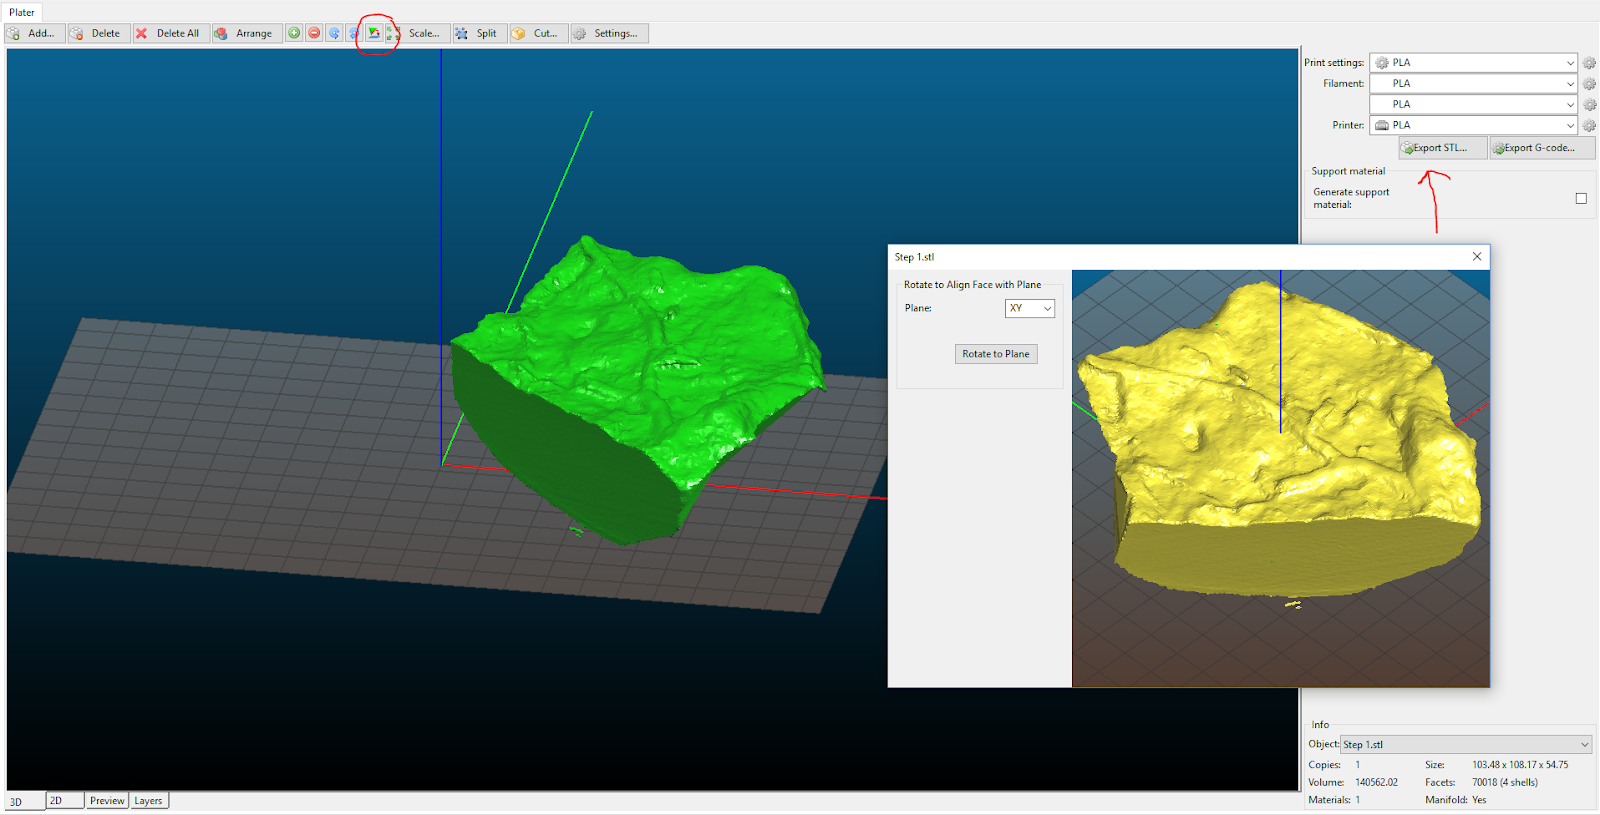
Step 2: Orient the model – Slic3r
This will take your (probably wonky) model and orient it for printing. You might be able to skip this step, if you don’t need to rotate your model. This example needs it, because the flat bottom is not actually aligned with the build plate.
- “Add” your recently exported .stl of the fossil.
- Select the fossil model, and click “Rotate to Face” (see below)
- Click on something that should be the bottom.
- Even apparently flat surfaces are probably not truly flat. We need to fix this, so don’t be fooled.
- “Export STL” and you can overwrite your previous .stl with this new file.
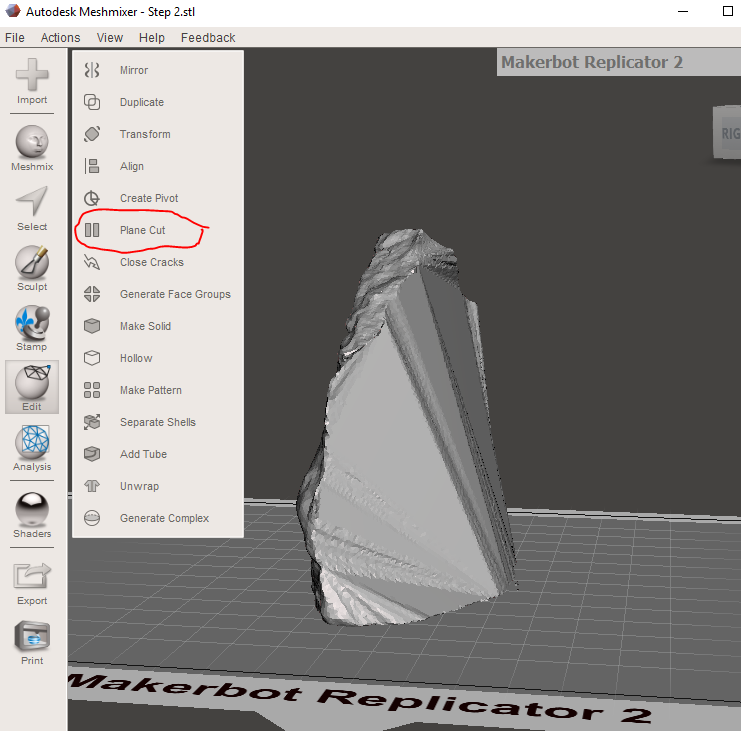
Step 3: Perfect the bottom – Meshmixer
This will smooth the rough bottom surface, so our print will actually adhere to the build plate.
- “Import” the recently updated .stl file of the fossil from Slic3r.
- Use “Plane Cut” to chop off the very bottom surface (see below)
- OPTIONAL – If your fossil requires supports, now is the time to add them.
- Find Meshmixer supports under “Analyze” → “Overhangs”
- “Export” the finalized model as an .stl
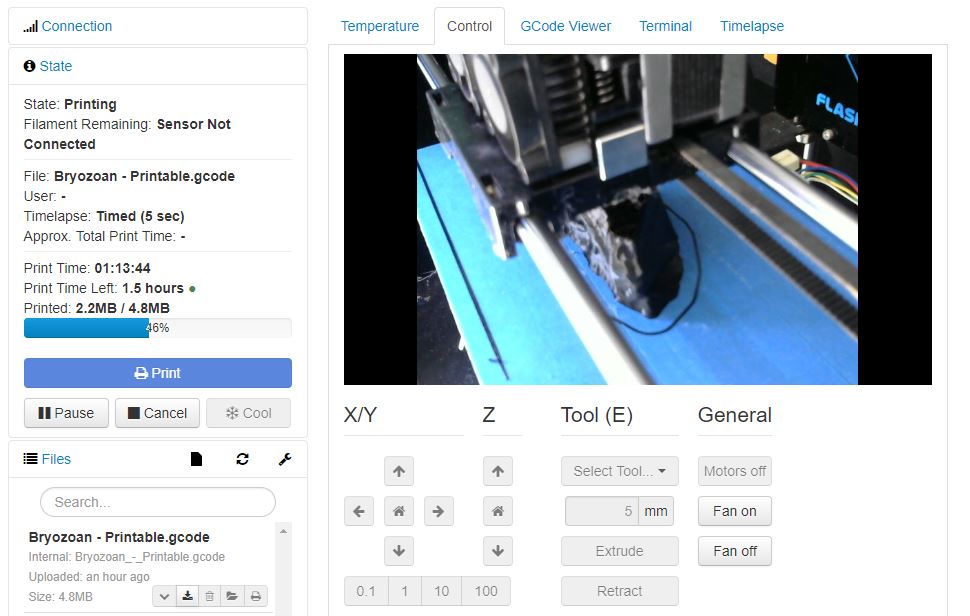
Step 4: Print – Slic3r (or whatever)
The model is done and you can now print using whatever your preferred printing workflow may be. Slic3r does a good job creating Gcode, and a simple extension can convert it to .x3g if your printer requires that.
From here you can go give your students fossils to analyze! I imagine asking them to paint the samples to highlight what they think they are seeing could be cool. They could also color-code homologies across multiple fossil types.
How else could you use fossils in class? Share your ideas and photos of your awesome prints!